Flirt Ad Campaign
Behind the Scenes of a photo shoot with Sunset Blonde
This shoot is for 2 billboards that will
be up on July 17th for 25 days. One will be on Highland in Hollywood,
California and the other one located in Miami, Florida. I wanted to
share some of the behind the scenes with you, so I took a ton of photos
of the shoot, from the catering & hair/makeup in the morning to the
location and the shots.
Here is what a typical call sheet looks
like. A call sheet gives everyone all the information that they need for
the photo shoot, and is the schedule for the day. It also includes any
special instructions and even the weather forecast.

These are images for the concept of the
photo shoot, just inspiration. We didn’t copy any of these shots. It’s a
road trip theme with model Sara Balint
and I acting like we are going on a road trip, getting lost, then
arriving at our destination. All while modeling clothes, bags, shoes,
and accessories.


The location: Malibu, California.
With mountains and sky as the backdrop, and a dry rocky terrain, it made for a unique location for a road trip theme.
With mountains and sky as the backdrop, and a dry rocky terrain, it made for a unique location for a road trip theme.


For the Road Trip theme, of course we had to have a car, so they rented a cream colored Mini Cooper for us to shoot with.

The makeup/hair stylist for the shoot was
Klara who set up her station outside of the trailer we had on location.
Here are some photos of her makeup set up.


The trailer is almost a necessity for most
on location photo shoots. It’s a good place to store all the garments
so they don’t get dirty, and can be organized. It provides a bathroom,
changing room and shelter from the sun, heat, or cold for the models and
crew members in between shots. It also allows
for electricity for
curling irons, lights, steamer for the clothes, etc.

She did full hair and makeup on Sara, but I
came to the shoot with my makeup done, only needing a touch up. I
prefer to do my own makeup since I’m a makeup artist & know what
looks best on myself. I used cinema secrets foundation in 65a. Concealer by dermacolor,
eyeshadow by Kevyn Aucoin in Fawn. I added my favorite mascara by
Loreal Voluminous to my natural lashes then added individual lashes in
medium and long lengths to the top lashes for more volume. I filled in
my eyebrows with a blonde brow pencil and blended it into the brow with
my Sunset Blonde eyebrow brush.
Using Hoola by Benefit and my Cheeky Fan brush from Sunset Blonde, I gave shading and definition to my cheek bones.
Klara the makeup artist added to my face:
Gorgio Armani foundation in 5.5 to even out my foundation coverage.
Added some highlight to my brows, a custom powder, and a shimmery pink
cheek color to the apples of my cheeks by La Femme. She added a
highlight to the tops of my cheekbones. The lip color she used was
number 126 lip gloss by Chanel.


My hair: I added some clip in hair extensions before arriving at the photo shoot and she added some wave with a hot tools 1 1/2 inch barrel curling iron for a beachy wave. She hair sprayed the locks and teased a lot at the crown.

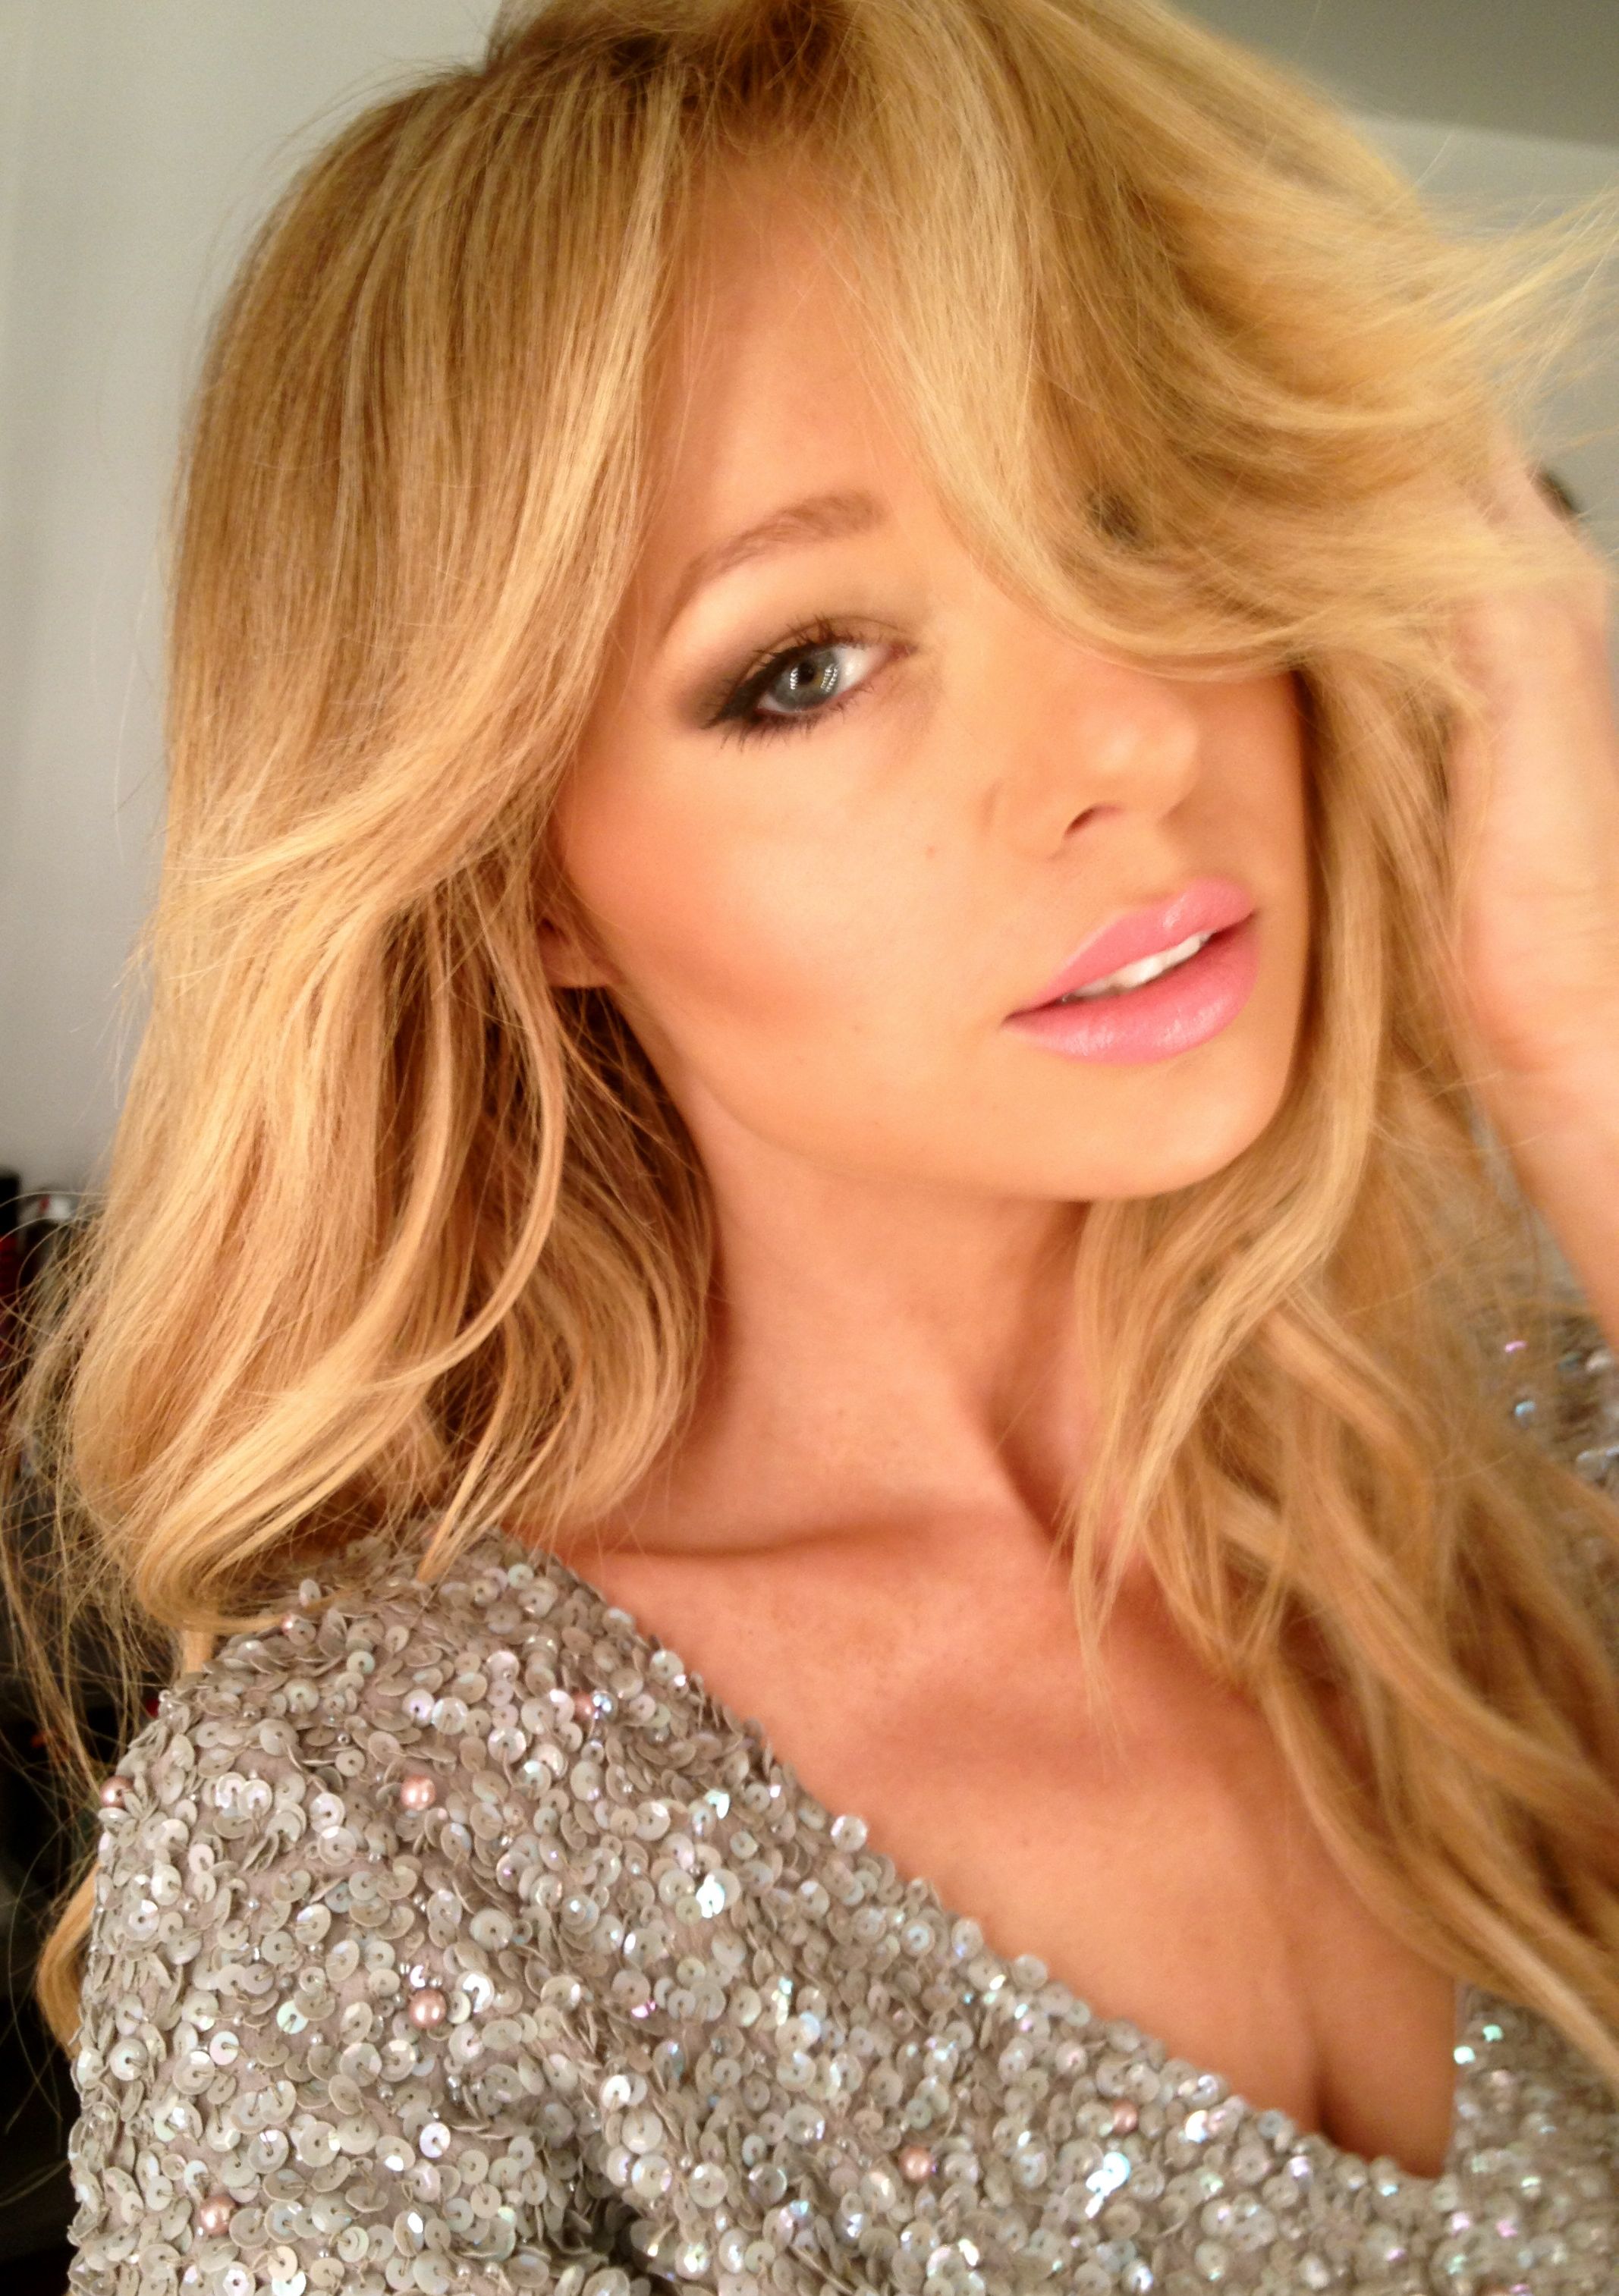
Here is how my final makeup and hair looked for the shoot:

Catering: There was a fully catered table
of food, drinks and coffee for breakfast. So many options! I choose a
banana, a glass of orange juice, and a quarter of a blueberry muffin.
After breakfast I drank a Green Machine juice smoothie from Naked.
The catering is so nice to have at shoots, they usually have healthy options and you can eat and drink whenever you need to. But it’s also very tempting to eat the unhealthy things too . . .


I arrived at 9:30 and we didn’t begin
shooting until 11:30. During that time I took photos of the clothing and
accessories that will be in the photo shoot.


I
love when they organize and label the outfits by model. This tag is
attached to the outfit on the hanger, and on the tag it says which shoes
I will be wearing with the outfit. When it is organized like this, the
shoot moves along quicker.
Sara and I had 9 outfits each to shoot in,
which makes for an easier day than a catalog shoot which can have
anywhere from 30-70 outfits to shoot. Location photo shoots tend to take
much more time for each shot compared to studio shoots. Lighting set
up, location scouting, daylight changes, etc can take much longer to
adjust for the conditions and in between each shot. Studio shoots tend
to use the same lighting and background throughout, so it is just up to
the model & how long it takes her to change and to get the right
shot.

Flirt Buyer/Stylist Rachel & Model Sara Balint messing around in the clothes rack!
Here are some behind the scenes shots from the different shoot locations throughout the day.


We shot 4 outfits, then broke for an hour
lunch. After lunch we shot 5 more outfits. 2 of them with the same hair
and makeup look. For the last 3 outfits, they gave us a smokey eye for a
night time look. Like we were arriving at out destination for the
shoot.
Here is what my smokey eye makeup looked like.

The smokey eye look for the 2nd look.

Model Sara Balint getting made up under the tent with the smokey eye look.
During one of the shots, I got to model in these cute rectangular aviators
I wore them in the gold color, they also come in silver.


These are some really sexy, and
surprisingly comfortable heels that we modeled in at the shoot. I fell
in love with them, and am ordering some in black & silver!

For more shopping, check out flirtcatalog.com
Stay tuned for photos of the Billboard & campaign photos!
Love,
Sunset Blonde