Friday, July 27, 2012
SOCK BUN HAIR TUTORIAL
<iframe width="560" height="315" src="http://www.youtube.com/embed/S1p1OPPDB6w" frameborder="0" allowfullscreen></iframe>
Tuesday, July 24, 2012
My How To Look Better In Photographs-Makeup Tips

How to look good in pictures is always a challenge. Some people are more photogenic than others. But since I’m always in front of the camera, and most of the time I prefer to do my own makeup for my photo shoots than most make artists, I thought I’d share some of my tips on how to photograph better. Here are a few tips on how to look good in pictures using make up.
Always use Matte Makeup, flat colors that don’t have sparkle or shimmer. When you are going to be photographed you want to avoid anything that is going to reflect light on your face. The camera flash will reflect light off the shimmer and will make you look shiny, distorted, and it will look unnatural.
Apply your make up in natural light. This is also best for every day
makeup application as well as for photos. Indoor lighting can alter the
appearance of your make up. Some lights may wash you out causing you to
apply makeup too heavily. We’ve all seen pictures of ourselves where we
thought our make up was good before we left the house.
If you don’t use blush when taking photos it will wash out your face,
especially under a heavy flash. Blush adds definition and some color to
your face. Don’t over apply blush, just a little extra color on your
face is good. And again, avoid blush with shimmer or sparkle in it.
Using black liner and mascara instead of brown or a color, works
better for photos. If you normally use browns, instead use black because
the darker hue will give you better contrast which will make your eyes
pop. Just don’t go to heavy on the black eyeliner, you don’t want to
look like a raccoon either.
Use more concealer! Covering up dark circles under our eyes or
blemishes with a little concealer is fine for everyday use, but in
pictures, use more concealer for better coverage to reflect light to
conceal imperfections and make you look flawless. Just make sure to not
have a shade that is too light, slightly lighter or matching your skin
tone is best. Also, blend the concealer extremely well, making sure not
to increase fine lines or awkward coloring around the eye. Heavier
concealer in real life looks noticeable, but in photos it isn’t, so feel
free to use more than you normally would. Sometimes I get blemishes, or
no sleep, and using a bit more concealer helps to make me look flawless
in photos. Also, always use concealer after applying foundation!
I always use a yellow face powder which is better than shimmery or
translucent powders for pictures. Although you might not think so, some
powders will reflect the light leaving you with a shine or even make you
look washed out in pictures. I’m sure neither of these looks are what
you have in mind when trying to look good in pictures.
Contour cheekbones and any other places that you want a little
correction. Look better in pictures by contouring your facial features.
You can use bronzer or contouring powder to brush on under your cheek
bones, under your chin, along either side of your nose, and the outer
corners of your forehead. Using a Fancy Cheeky Brush from Sunset Blonde Beauty for the best and most blended application!
Foundation is not always a necessity, but it does even out skin tone
and imperfections. There is something about using foundation in photos
that genuinely gives you an airbrushed look. I get asked all the time
how I get my skin to look so flawless, and it’s a combination of having
the right products and the right tools
that works for you, along with practice and experience. My face is much
paler than the my body, and so I always like to even it out and change
the color of it with a little foundation in a darker shade. You may have
red spots, scars, veins, blemishes, discoloration, etc, that you are
used to seeing every day, and might not even notice. Or maybe you are
very well aware of what’s on your face. For photos, foundation along
with concealer can make a huge difference with your skin. Getting some
assistance from a professional with selecting the right shade of
foundation is always a must. Most people can’t tell what shade they need
to match their skin. Using the right foundation will help you look
better in photos.
Use eye drops to get rid of any red lines in your eyes, if you even have any. Bloodshot eyes are not pretty. You also make your eyes look a little bigger and clearer by using a little white shadow to highlight on the inside corners of both eyelids.
Looking better in photographs is easy with a few helpful makeup tricks. You can also take a few practice shots before heading out, bring your makeup with you, for touch-ups or to correct something you might not have otherwise noticed. Make sure your make up looks as good in pictures as it does in person.
Love,
Sunset Blonde
New Fav: MAC Pro Longwear Lipglass

MAC Pro Longwear Lipglass in the color PATIENCE, PLEASE.
If you are a fan of MAC lip glasses, you will love this new one they just came out with that is a long wearing formula. Very thick and sort of sticky when you press your lips together, but very smooth against your tongue. It is not like any other long wearing lip gloss that I’ve tried, a different consistency, and no gross drying feel. I suggest applying the least amount possible and sort of rub and press your lips together until the color is even and blended onto your lips.
It comes in a bunch of different shades:

Pro Longwear Lipglass ($18.50 US)
Patience, Please Light pale pink
Ready or Not! Neutral light coral with pearl
Infinitely Likable Light pink
Show Me! Mid-tone neutral plum
Whoops! Bright coral (red/orange)
Full Speed Ahead Magenta
Driven by Love Red (blue undertone) with pearl
Lasting Achievement Midtone purple with pearl
Dark as Night Deep plum with pearl
Realistically, they don’t last as long as they claim to on me, but I’m happy that it lasts longer than any regular lip gloss!
Love,
Sunset Blonde
Monday, July 2, 2012
Mixed Metal Eyeshadow
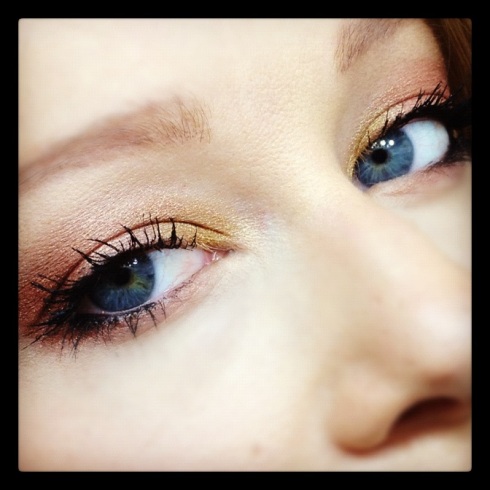
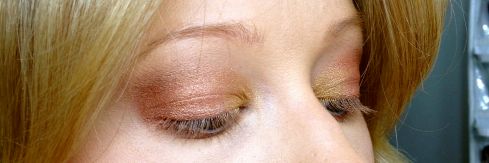
Rose Gold and Gold.
Mixing metals can be fun with jewelry, so
why not with makeup? I got creative with my eyeshadow this morning and
decided to apply 2 different metallic shades to my eyelid.
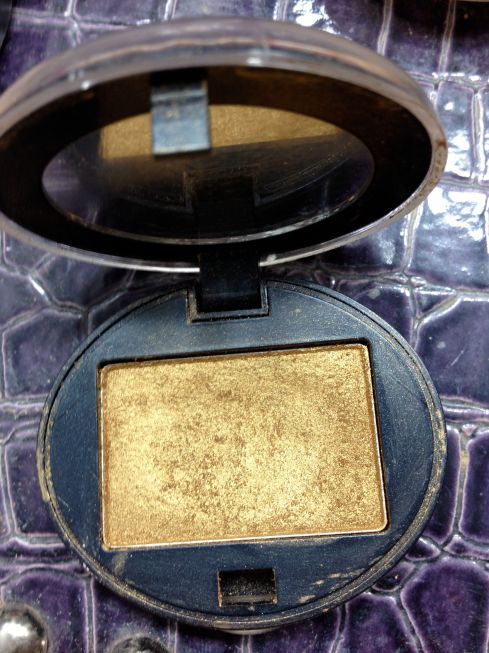
I used a highly pigmented, very yellow
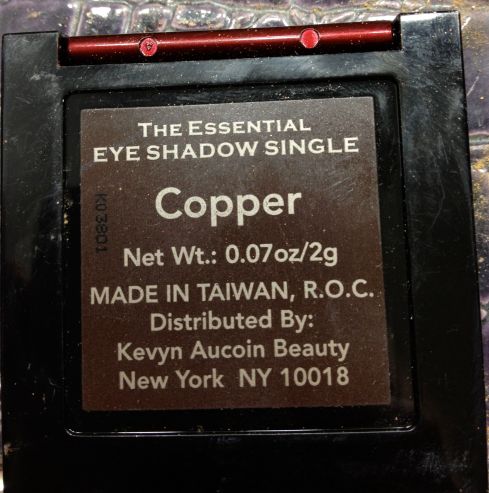
gold shade from urban decay called Honey, and a new Kevyn Aucoin
eyeshadow shade that I got in Copper. The name of it is copper, but I
think it looks more like a rose gold color, because of it’s soft
shimmery pinkish shade. I started with the rose gold shade and applied
it all over my eyelid and blended it up into the crease, concentrating
more color on the outer corners. I then applied it underneath my lower
lash line. Then with the Honey (gold) color I applied it right over the
rose gold on the inner corners of my upper eyelid, and gentle blended
the edge with the rose gold.
I finished the look by lining the outer
corners of my inner rims with black gel eyeliner from Trish McEvoy, and
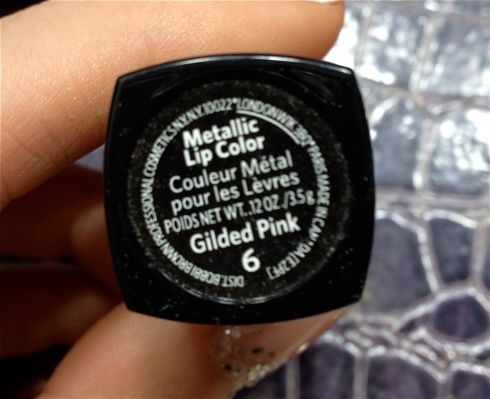
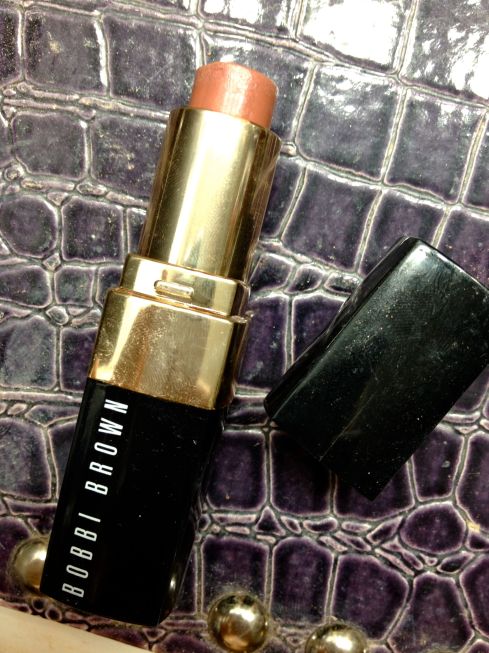
applying Loreal Voluminous Mascara in Carbon Black. I also used Bobbi
Brown Metallic Lip Color in Gilded Pink. I don’t find it to be metallic
though, it’s more like a brownish pink. A nice compliment to the rose
gold on my eyes.
Love,
Sunset Blonde
Sunday, July 1, 2012
Whisper Goddess
I really love how my eyes look when I do my eye makeup this way. Similar to my Signature Eyes Look.
I usually choose 2 shades, a light one, and a dark one. I always apply
the light shade to the inner corners of my eye and sweep it across my
eyelids, and under the brow bone. Then with the Deluxe crease brush
from Sunset Blonde I lightly coat the bristles in the darker shadow,
and work it into the outer corners and crease of my upper eyelid. I then
blended the darker color into my eyelid with a clean Sunset Blonde Soft Blender Brush. I also smudged a light layer of the darker shade along my bottom lash line under my eye with the baby bullet brush.
I used 2 eyeshadow colors from Kevyn
Aucoin, the lighter one is a shimmery pink shade called Whisper, and the
darker is a shimmery wine color called Goddess.
Using a black eyeliner pencil by Stila in
Stingray, I lined the inner rims of my eyes only on the outer corners,
and finished the look with Loreal Voluminous Mascara!
Love,
Sunset Blonde
Subscribe to:
Comments (Atom)

